If you want to laugh until you cry, blow bubbles with friends. We had such a fun afternoon learning this glazing technique.
Our tips:
- We used three coats of Amaco’s White Velvet underglaze on greenware. Bisque fired and then applied the bubble technique. (We tried the technique directly on bisque and strongly prefer the White Velvet base.)
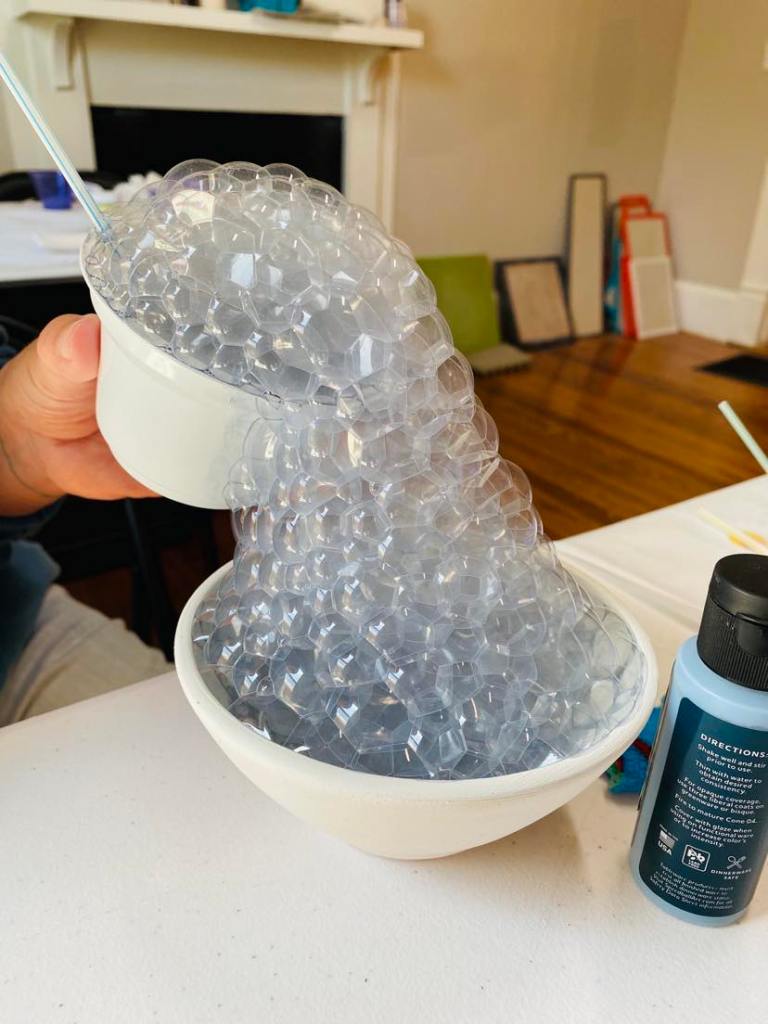
- Mix underglaze with a bit of water and a few drops of Dawn dishwashing liquid. Experiment to get the size bubble and color intensity you want. (For darker colors, use less water and more soap in your mixture.) Test on a paper towel.
- Use a strong color of underglaze for the bubbles; pale colors do not show up well. We tried this technique with glaze instead of underglaze but prefer working with the underglaze.
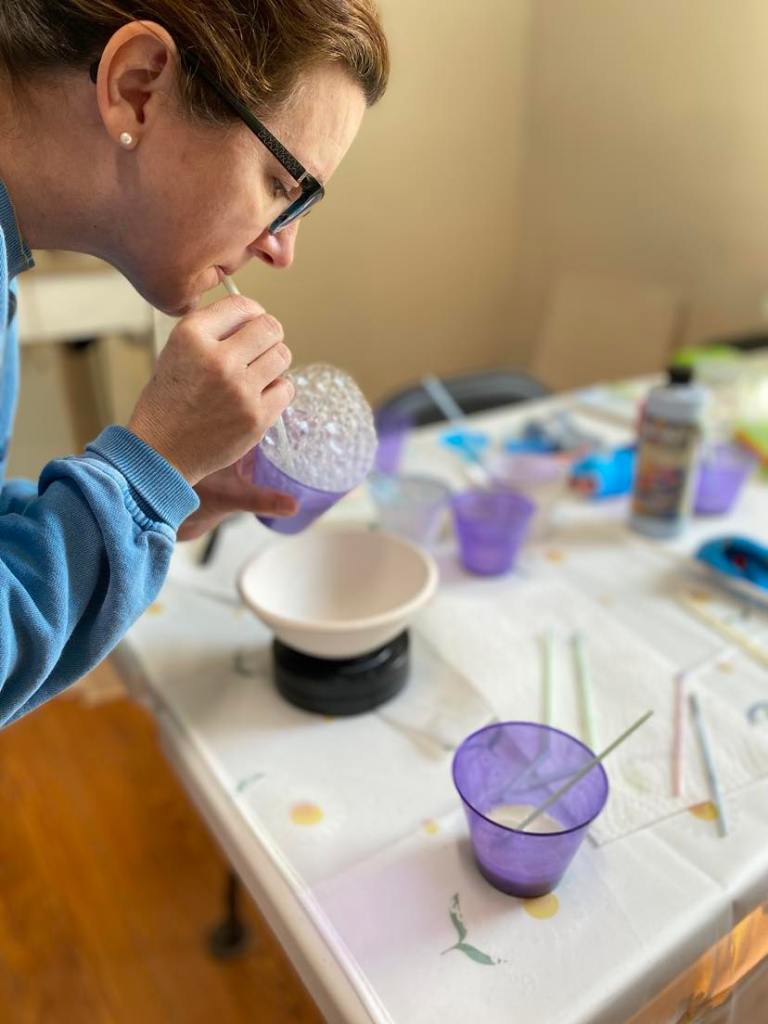
- Different-sized straws will give you a different look but a regular straw works great. Metal straws do not work as well. Try not to let the bubbles become foamy.
- There will be drips from the cup. Work quickly and have a paper towel handy under the straw to catch drips.
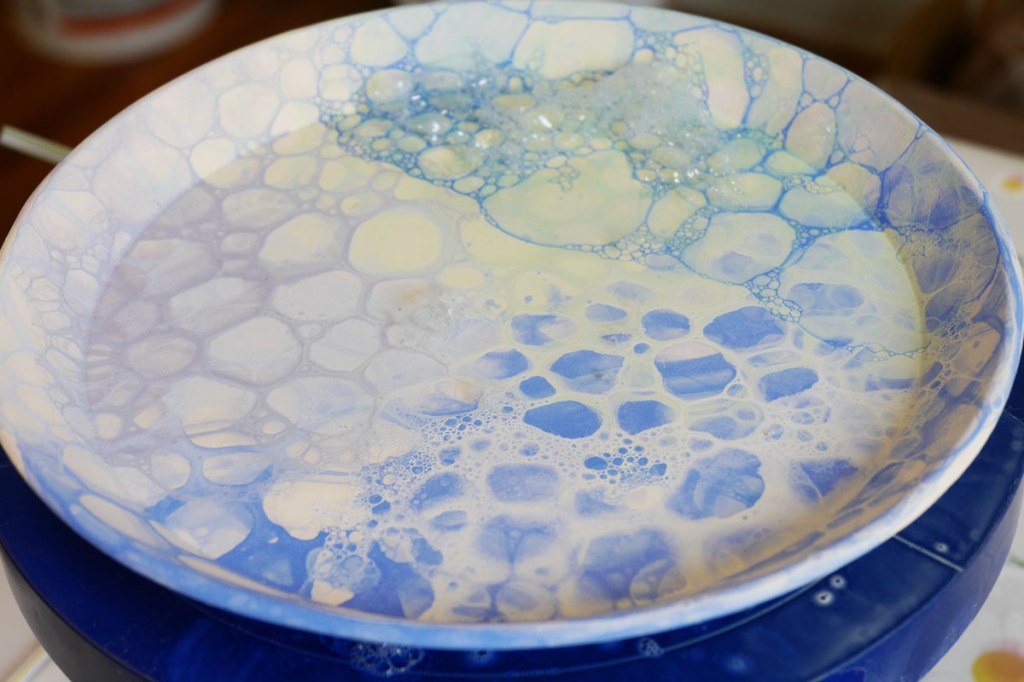
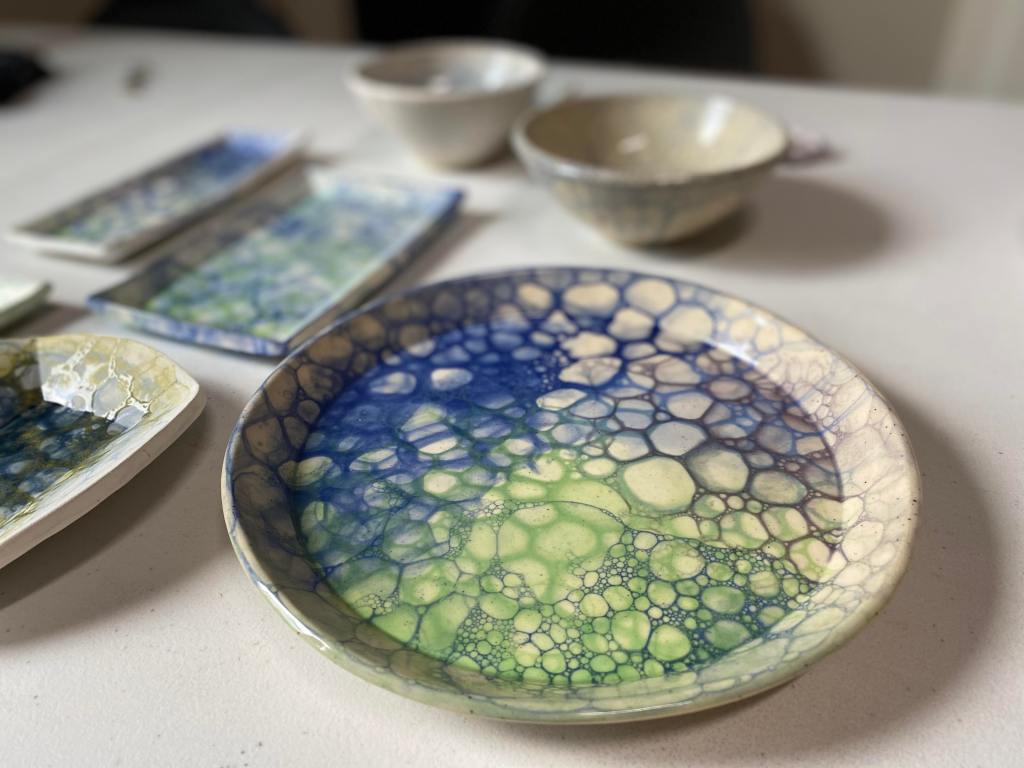
- Overlap colors for a fun result.
- Once the bubbles are completely dry, apply one coat of zinc-free clear glaze. We tried using glaze for the bubble technique and then no clear glaze addition but the results were not as successful.
And advice from a fellow potter: Blow slow for big bubbles and fast for smaller bubbles. (Smaller bubbles concentrate the color and larger bubbles allow for some cool color layers to show through.)